- Kali Linux OR Parrot OS
- Practical understanding of T*****/IP
- The tutorial were conducted against a compromised Linux Virtual Machine that has been set up to demonstrate the process of exploitation and privilege escalation. It can be downloaded here:
https://www.vulnhub.com/entry/raven-1,256/
Goal:
The intention is to secure a presence on the Linux target once an initial entry point has been acquired.
PART 1. PERSISTENCE THROUGH SSH KEYS:
* Note: This approach necessitates the enabling of Public Key Authentication within the SSH configuration file. Further information on how to activate this feature may be found here: https://www.linode.com/docs/guides/use- ... -with-ssh/
The first persistence method which we shall be taking advantage of is the practice of creating and utilising SSH key-based authentication instead of password-based authentication. This technique shall ensure the continuous access to the designated system, even if the user account passwords have been altered. This occurs frequently in companies that enforce password security policies.
In order to execute this method, you must have attained initial access to the desired system, and shall require "root" privileges for modifying the SSH configuration file.
The initial step involves creating the SSH key-pair, which needs to be accomplished on your Kali Virtual Machine, as this is the system we will utilise for authentication via SSH. This can be achieved by entering the following command:
Code: Select all
ssh-keygenAs you can observe, this process will prompt you to designate the storage location for the generated public and private keys, as well as providing a passphrase for the SSH key. In this instance, we shall utilise the default alternatives.

Once the public and private key pair has been produced, it will be necessary to copy the content of the public key (id_rsa.pub) and append it to the “authorised_keys” file in the target user account’s .ssh directory on the intended system. The location is as follows:
Code: Select all
/root/.ssh/authorized_keysIn this situation, we shall be adding the public key to the “authorized_keys” file of the “root” user.
* Note: If the .ssh directory and “authorized_keys” file do not exist, you must create them, which can be accomplished by executing the following commands:
Code: Select all
mkdir ~/.sshCode: Select all
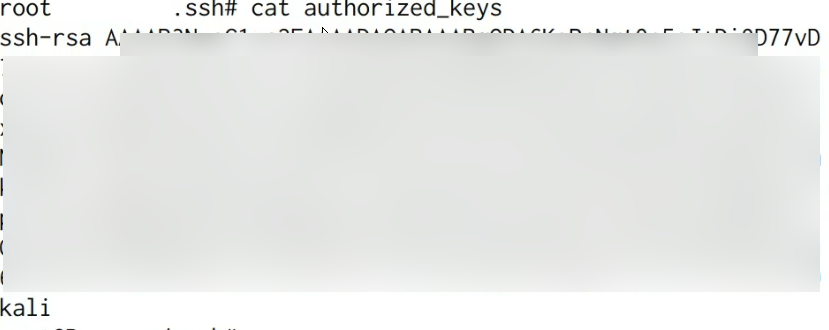
touch ~/.ssh/authorized_keysUpon pasting the contents of the generated public key into the “authorized_keys” file, the file should resemble the image illustrated below.

It is additionally advisable to impose the correct permissions on the .ssh directory and “authorized_keys” file; this may be accomplished by running the following commands:
Code: Select all
chmod 700 /root/.sshCode: Select all
chmod 600 /root/.ssh/authorized_keys
We have effectively established persistent access through SSH keys, thus obviating any prospective authentication failures resulting from password alterations.
